Why Make This Recipe
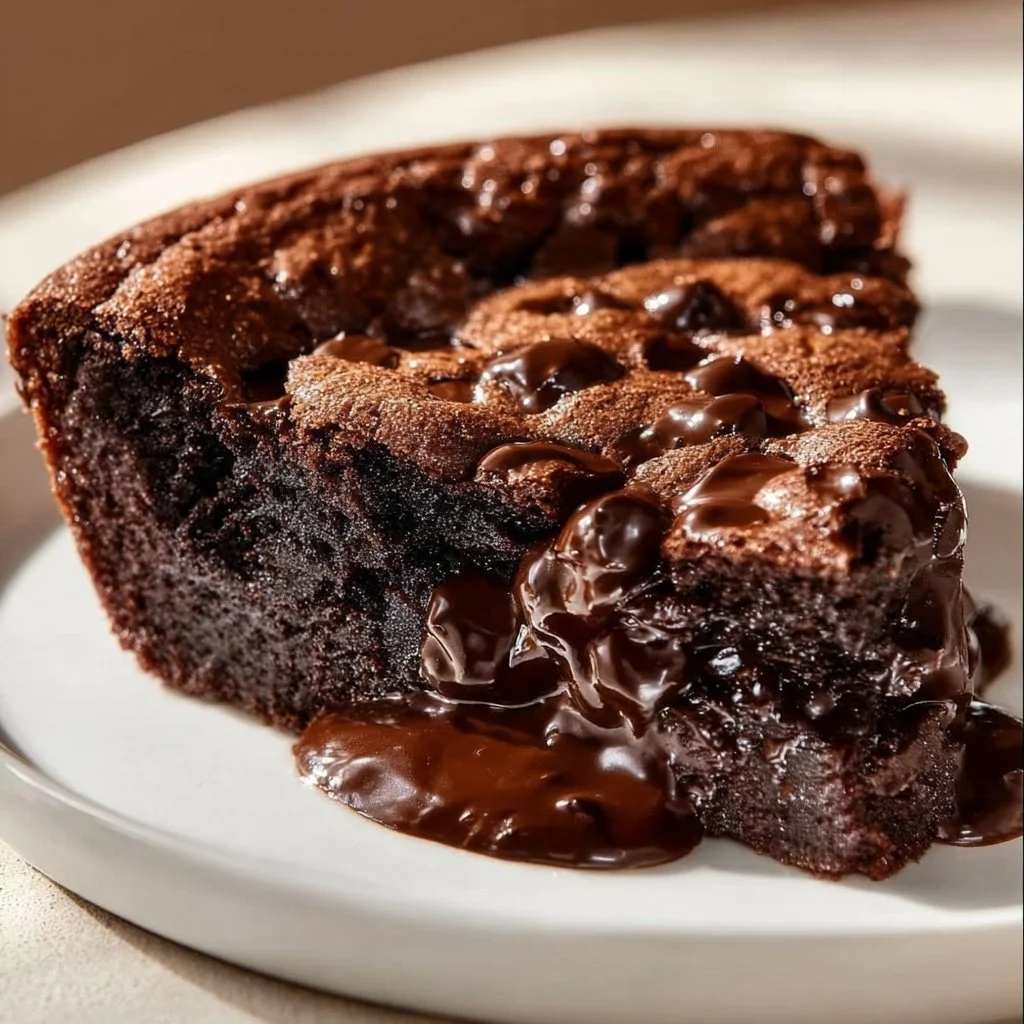
Gooey Brownie Pie is the ultimate dessert for chocolate lovers. It’s rich and indulgent, perfect for satisfying your sweet tooth. This recipe combines the beloved flavors of brownies and pie, giving you a unique treat that’s easy to make. Whether you’re hosting a gathering or just want a sweet snack, this pie is sure to impress everyone.
How to Make Gooey Brownie Pie
Ingredients:
- 6 Tbsp Unsalted Butter
- 3 cups Semi-Sweet Chocolate Chips (divided)
- 3 Large Eggs
Directions:
- Preheat the oven to 350°F (175°C).
- Melt the butter and 1 1/2 cups of chocolate chips together in a saucepan over low heat. Stir until smooth.
- Remove from heat and let cool slightly.
- In a bowl, whisk the eggs and then add the melted chocolate mixture, stirring until combined.
- Add the remaining chocolate chips and stir.
- Pour the mixture into a greased pie dish and spread evenly.
- Bake for 25-30 minutes, until the edges are set but the center is still gooey.
- Let cool before slicing and serving. Enjoy your slice of chocolate bliss!
How to Serve Gooey Brownie Pie
This pie is best served warm, straight from the oven or at room temperature. You can top it with whipped cream, vanilla ice cream, or fresh berries for an extra treat. A drizzle of chocolate sauce can also add to the chocolatey experience.
How to Store Gooey Brownie Pie
To store the Gooey Brownie Pie, keep it in an airtight container in the refrigerator. It will last for about 3-4 days. You can also freeze slices. Just wrap them tightly in plastic wrap and then place them in a freezer-safe container. They can last up to 2 months in the freezer.
Tips to Make Gooey Brownie Pie
- Make sure to melt the chocolate and butter over low heat to prevent burning.
- Don’t overbake! The center should remain gooey to achieve the best texture.
- Let the pie cool before slicing to help it set up just right.
Variation
You can customize this recipe by adding nuts, like walnuts or pecans, to the chocolate mixture for added crunch. Another option is to swirl in peanut butter or caramel for a fun twist.
FAQs
1. Can I use dark chocolate chips instead of semi-sweet?
Yes, you can use dark chocolate chips for a richer flavor, but it will change the sweetness of the pie.
2. How do I know when the pie is done?
The edges should be set, but the center will still look a bit jiggly. It will continue to set as it cools.
3. Can I make this pie in advance?
Yes! You can make it a day ahead. Just store it in the refrigerator until you are ready to serve.

Gooey Brownie Pie
Ingredients
Main Ingredients
- 6 Tbsp Unsalted Butter
- 3 cups Semi-Sweet Chocolate Chips (divided) 1 1/2 cups for melting, 1 1/2 cups for mixing into batter
- 3 Large Eggs
Instructions
Preparation
- Preheat the oven to 350°F (175°C).
- Melt the butter and 1 1/2 cups of chocolate chips together in a saucepan over low heat. Stir until smooth.
- Remove from heat and let cool slightly.
- In a bowl, whisk the eggs and then add the melted chocolate mixture, stirring until combined.
- Add the remaining chocolate chips and stir.
- Pour the mixture into a greased pie dish and spread evenly.
Baking
- Bake for 25-30 minutes, until the edges are set but the center is still gooey.
- Let cool before slicing and serving.
