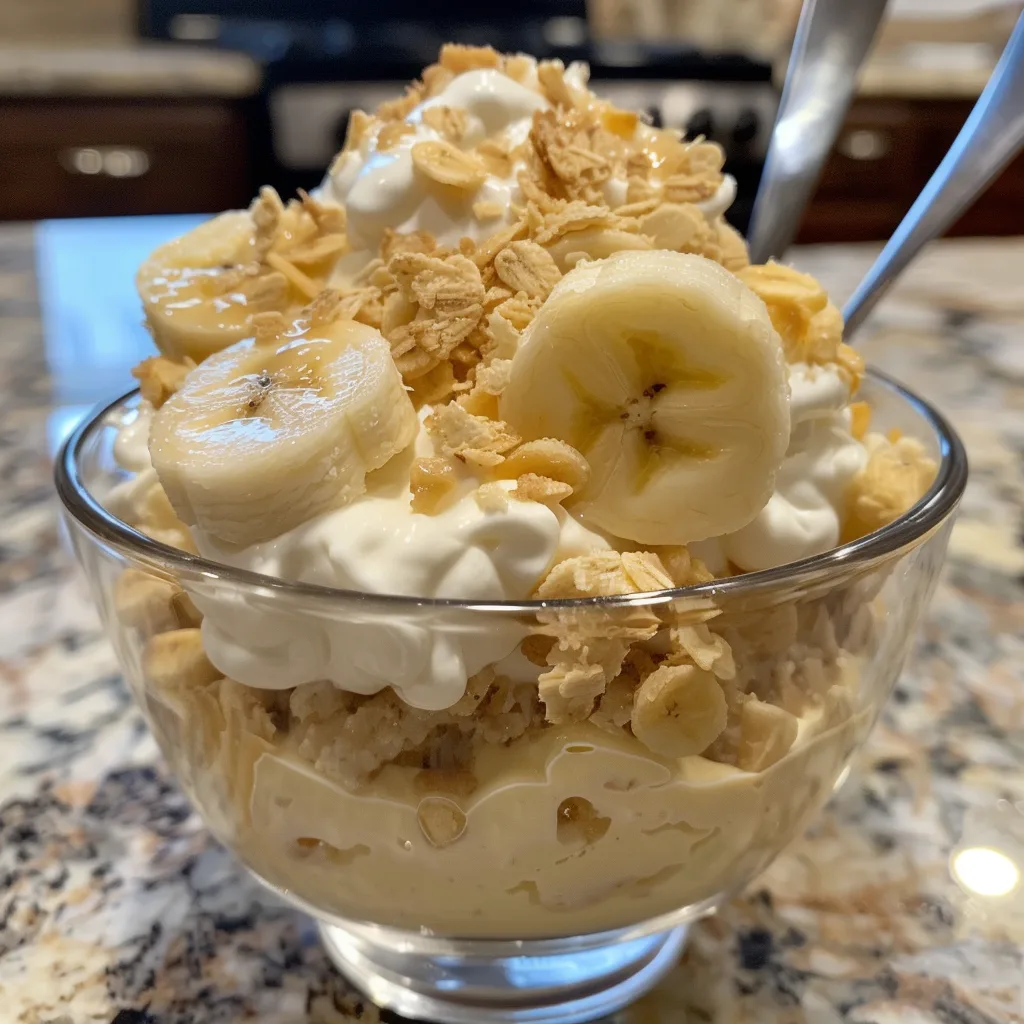
No-Bake Banana Pudding: Creamy, Dreamy, and Delightfully Easy
There’s something magical about the combination of creamy pudding, sweet bananas, and soft vanilla wafers that makes no-bake banana pudding a timeless classic. This no-bake version is perfect for those hot summer days when you want a cool, refreshing dessert without turning on the oven. With layers of velvety vanilla pudding, fresh banana slices, and crunchy vanilla wafers, this dessert is a crowd-pleaser that’s as easy to make as it is delicious. Whether you’re hosting a potluck, planning a picnic, or just craving a sweet treat, this no-bake banana pudding is sure to satisfy.
Prep Time, Cook Time, and Servings
Prep Time: 20 minutes
Cook Time: 0 minutes (no-bake recipe)
Total Time: 20 minutes (plus 2 hours chilling time)
Servings: 8-10
Ingredients
- 1 (5.1 oz) package instant vanilla pudding mix
- 2 cups cold milk (whole or 2% for creaminess)
- 1 (14 oz) can sweetened condensed milk
- 1 tsp vanilla extract
- 1 (8 oz) container frozen whipped topping, thawed
- 4-5 ripe bananas, sliced
- 1 (11 oz) box vanilla wafers
Instructions
- Mix the pudding: In a large mixing bowl, whisk together the instant vanilla pudding mix and cold milk for about 2 minutes, or until the mixture begins to thicken. Let it sit for 5 minutes to fully set.
- Add the sweetened condensed milk and vanilla: Stir in the sweetened condensed milk and vanilla extract until well combined. The mixture should be smooth and creamy.
- Fold in the whipped topping: Gently fold in the thawed whipped topping until the mixture is light and fluffy. This will give your pudding a rich, creamy texture.
- Layer the ingredients: In a large trifle dish or a 9×13-inch baking dish, start layering the ingredients. Begin with a layer of vanilla wafers, followed by a layer of sliced bananas, and then a layer of the pudding mixture. Repeat the layers until all ingredients are used, ending with a layer of pudding on top.
- Chill: Cover the dish with plastic wrap and refrigerate for at least 2 hours, or until the pudding is fully set and the flavors have melded together.
- Serve: Before serving, garnish with additional banana slices and crushed vanilla wafers if desired. Enjoy your creamy, dreamy no-bake banana pudding!
Pro Tips for Perfect No-Bake Banana Pudding
- Use ripe bananas: Choose bananas that are ripe but still firm to ensure they hold their shape and provide the best flavor.
- Layer evenly: Make sure to distribute the layers evenly for a balanced bite in every spoonful.
- Chill thoroughly: Allow the pudding to chill for at least 2 hours to let the flavors meld and the pudding set properly.
- Prevent browning: If making ahead, toss the banana slices in a little lemon juice to prevent browning.
- Crush some wafers: Crush a few vanilla wafers and sprinkle them on top for added texture and a decorative touch.
Variations and Substitutions
- Healthier swaps: Use sugar-free pudding mix, low-fat milk, and light whipped topping for a lighter version.
- Gluten-free: Use gluten-free vanilla wafers to make this dessert gluten-free.
- Chocolate twist: Add a layer of chocolate syrup or mini chocolate chips for a chocolate-banana variation.
- Nutty addition: Sprinkle chopped pecans or walnuts between the layers for a crunchy, nutty flavor.
- Fruit medley: Mix in other fruits like strawberries or blueberries for a colorful, fruity twist.
Storage and Reheating Tips
Store any leftover banana pudding in an airtight container in the refrigerator for up to 3 days. The vanilla wafers may soften over time, but the dessert will still be delicious. For best results, consume within 24-48 hours to enjoy the optimal texture. This dessert is not suitable for freezing as the bananas and pudding may become watery upon thawing.
FAQ
- Can I make this banana pudding ahead of time? Yes, you can prepare the pudding up to 24 hours in advance. Just be sure to cover it tightly and refrigerate until ready to serve.
- How do I prevent the bananas from browning? Toss the banana slices in a little lemon juice before layering them in the pudding. This will help prevent browning.
- Can I use homemade pudding instead of instant pudding mix? Absolutely! Homemade pudding will add a richer flavor, but it will require more time and effort.
- What can I use instead of vanilla wafers? You can substitute with graham crackers, shortbread cookies, or even ladyfingers for a different texture and flavor.
- Can I use dairy-free alternatives? Yes, you can use almond milk, coconut milk, or oat milk, and a dairy-free whipped topping to make this dessert dairy-free.
Nutrition Estimate (Per Serving)
Calories: 320
Protein: 4g
Carbohydrates: 52g
Fat: 11g
This no-bake banana pudding is a delightful dessert that’s sure to impress with its creamy texture and classic flavors. Whether you’re making it for a special occasion or just because, it’s a treat that everyone will love!

No-Bake Banana Pudding
Ingredients
Pudding Mixture
- 1 package 5.1 oz package instant vanilla pudding mix
- 2 cups cold milk (whole or 2% for creaminess)
- 1 can 14 oz sweetened condensed milk
- 1 tsp vanilla extract
- 1 container 8 oz frozen whipped topping, thawed
Layering Ingredients
- 4-5 ripe bananas sliced Choose ripe but firm bananas.
- 1 box 11 oz vanilla wafers
Instructions
Preparation
- In a large mixing bowl, whisk together the instant vanilla pudding mix and cold milk for about 2 minutes, or until the mixture begins to thicken. Let it sit for 5 minutes to fully set.
- Stir in the sweetened condensed milk and vanilla extract until well combined. The mixture should be smooth and creamy.
- Gently fold in the thawed whipped topping until the mixture is light and fluffy.
Layering
- In a large trifle dish or a 9×13-inch baking dish, start layering the ingredients. Begin with a layer of vanilla wafers, followed by a layer of sliced bananas, and then a layer of the pudding mixture. Repeat the layers until all ingredients are used, ending with a layer of pudding on top.
Chilling
- Cover the dish with plastic wrap and refrigerate for at least 2 hours, or until the pudding is fully set and the flavors have melded together.
Serving
- Before serving, garnish with additional banana slices and crushed vanilla wafers if desired. Enjoy your creamy, dreamy no-bake banana pudding!
