Introduction
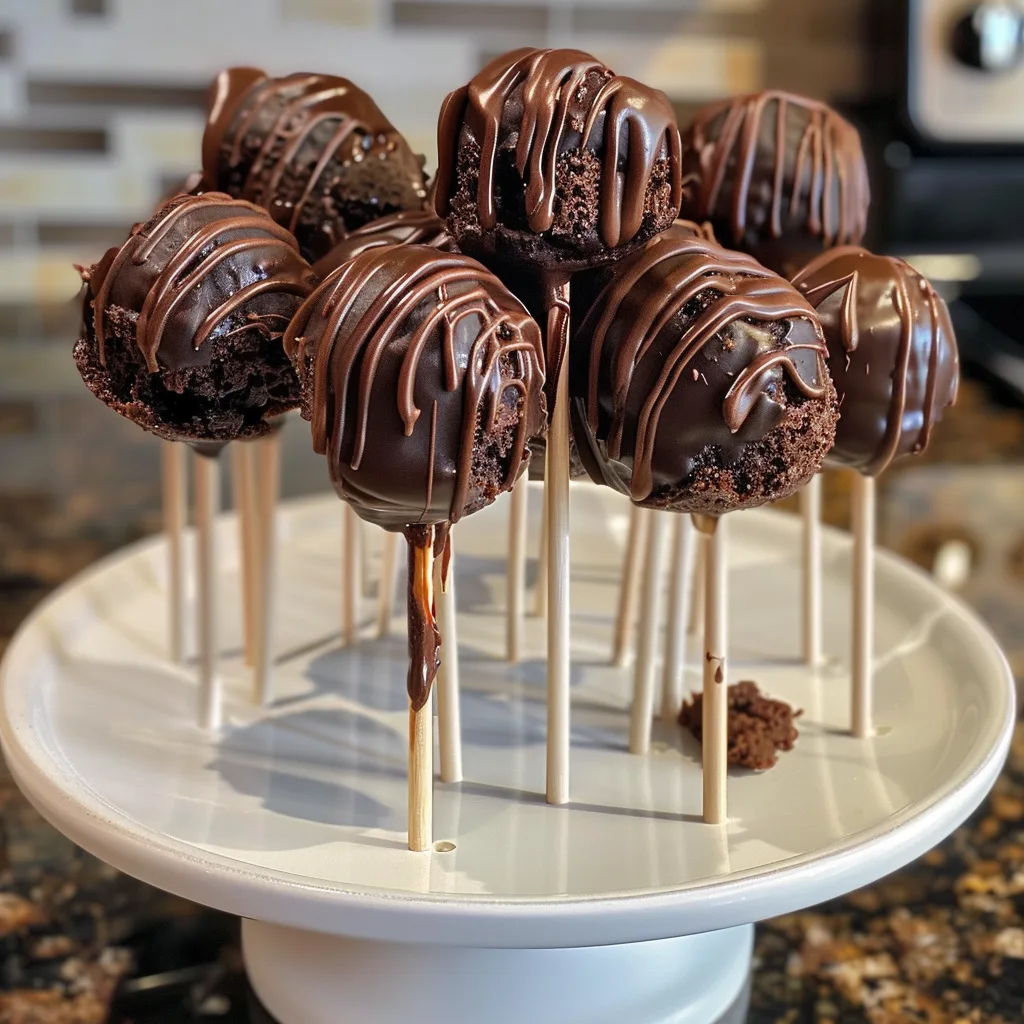
Brownie Pops are the ultimate sweet treat that combines the rich, fudgy goodness of brownies with the fun, handheld convenience of a lollipop. These bite-sized delights are perfect for parties, holidays, or just a special snack. With their deep chocolate flavor, moist texture, and smooth coating, Brownie Pops are sure to become a favorite in your dessert repertoire. Whether you’re making them for a celebration or simply to satisfy a chocolate craving, this recipe is both easy and impressive.
Prep Time, Cook Time, Servings, and Nutrition
Prep Time: 20 minutes
Cook Time: 0 minutes (using pre-baked brownies)
Total Time: 40 minutes (including chilling)
Servings: 12 brownie pops
Nutrition (per serving): Approximately 250 calories, 3g protein, 28g carbohydrates, 14g fat
Ingredients
- 1 batch of baked brownies (about 9×9 inch pan), cooled
- 12 lollipop sticks
- 1 1/2 cups chocolate chips or melting chocolate
- 1 tablespoon vegetable oil or coconut oil (optional, for smoother coating)
- Optional toppings: sprinkles, crushed nuts, shredded coconut, mini chocolate chips
Instructions
- Crumble the baked brownies into a large mixing bowl until they resemble fine crumbs.
- Roll the brownie crumbs into 12 equal-sized balls, about 1 to 1.5 inches in diameter.
- Insert a lollipop stick into the center of each brownie ball, pressing gently to secure.
- Place the brownie pops on a baking sheet lined with parchment paper and freeze for 10-15 minutes to firm up.
- While the brownie pops are chilling, melt the chocolate chips with the oil in a microwave-safe bowl, stirring every 30 seconds until smooth.
- Remove the brownie pops from the freezer and dip each one into the melted chocolate, turning to coat completely.
- Allow excess chocolate to drip off, then place the pops back on the parchment paper.
- If using toppings, sprinkle them on immediately before the chocolate sets.
- Chill the brownie pops in the refrigerator for at least 15 minutes, or until the chocolate is firm.
Pro Tips for Perfect Brownie Pops
- Use slightly under-baked brownies for extra fudgy pops that hold together well.
- Freeze the brownie balls before dipping to prevent them from falling apart in the warm chocolate.
- Add a little oil to the melting chocolate for a smoother, shinier finish.
- Use high-quality chocolate for the best flavor and texture.
- If the chocolate starts to thicken while dipping, gently reheat it to keep it fluid.
Variations and Substitutions
- Use white or milk chocolate instead of dark chocolate for a different flavor profile.
- Roll the pops in crushed cookies, toffee bits, or colorful sprinkles for added texture and fun.
- For a gluten-free version, use your favorite gluten-free brownie recipe.
- Add a teaspoon of instant espresso powder to the brownie crumbs for a mocha twist.
- Swap in vegan brownies and dairy-free chocolate for a plant-based treat.
Storage and Reheating Tips
Store Brownie Pops in an airtight container in the refrigerator for up to one week. For longer storage, freeze them in a single layer on a baking sheet, then transfer to a freezer-safe bag for up to two months. Thaw in the refrigerator before serving. Brownie Pops are best enjoyed chilled or at room temperature—no reheating necessary.
Frequently Asked Questions
- Can I make Brownie Pops ahead of time? Yes! They can be made up to a week in advance and stored in the fridge.
- What if my brownie mixture is too crumbly? Add a spoonful of frosting or melted chocolate to help the crumbs bind together.
- Can I use store-bought brownies? Absolutely! Store-bought brownies work perfectly and save time.
- How do I prevent the sticks from sliding out? Make sure the brownie balls are firm and chilled before inserting the sticks, and don’t press the stick all the way through.
- Can I use candy melts instead of chocolate chips? Yes, candy melts are a great option for vibrant colors and easy melting.
- Are Brownie Pops kid-friendly? Definitely! Kids love helping make and decorate these fun treats.

Brownie Pops
Ingredients
Main Ingredients
- 1 batch baked brownies (about 9x9 inch pan), cooled
- 12 pieces lollipop sticks
- 1.5 cups chocolate chips or melting chocolate
- 1 tablespoon vegetable oil or coconut oil (optional, for smoother coating)
Optional Toppings
- as needed sprinkles for decoration
- as needed crushed nuts for texture
- as needed shredded coconut for decoration
- as needed mini chocolate chips for decoration
Instructions
Preparation
- Crumble the baked brownies into a large mixing bowl until they resemble fine crumbs.
- Roll the brownie crumbs into 12 equal-sized balls, about 1 to 1.5 inches in diameter.
- Insert a lollipop stick into the center of each brownie ball, pressing gently to secure.
- Place the brownie pops on a baking sheet lined with parchment paper and freeze for 10-15 minutes to firm up.
Coating and Finishing
- While the brownie pops are chilling, melt the chocolate chips with the oil in a microwave-safe bowl, stirring every 30 seconds until smooth.
- Remove the brownie pops from the freezer and dip each one into the melted chocolate, turning to coat completely.
- Allow excess chocolate to drip off, then place the pops back on the parchment paper.
- If using toppings, sprinkle them on immediately before the chocolate sets.
- Chill the brownie pops in the refrigerator for at least 15 minutes, or until the chocolate is firm.
