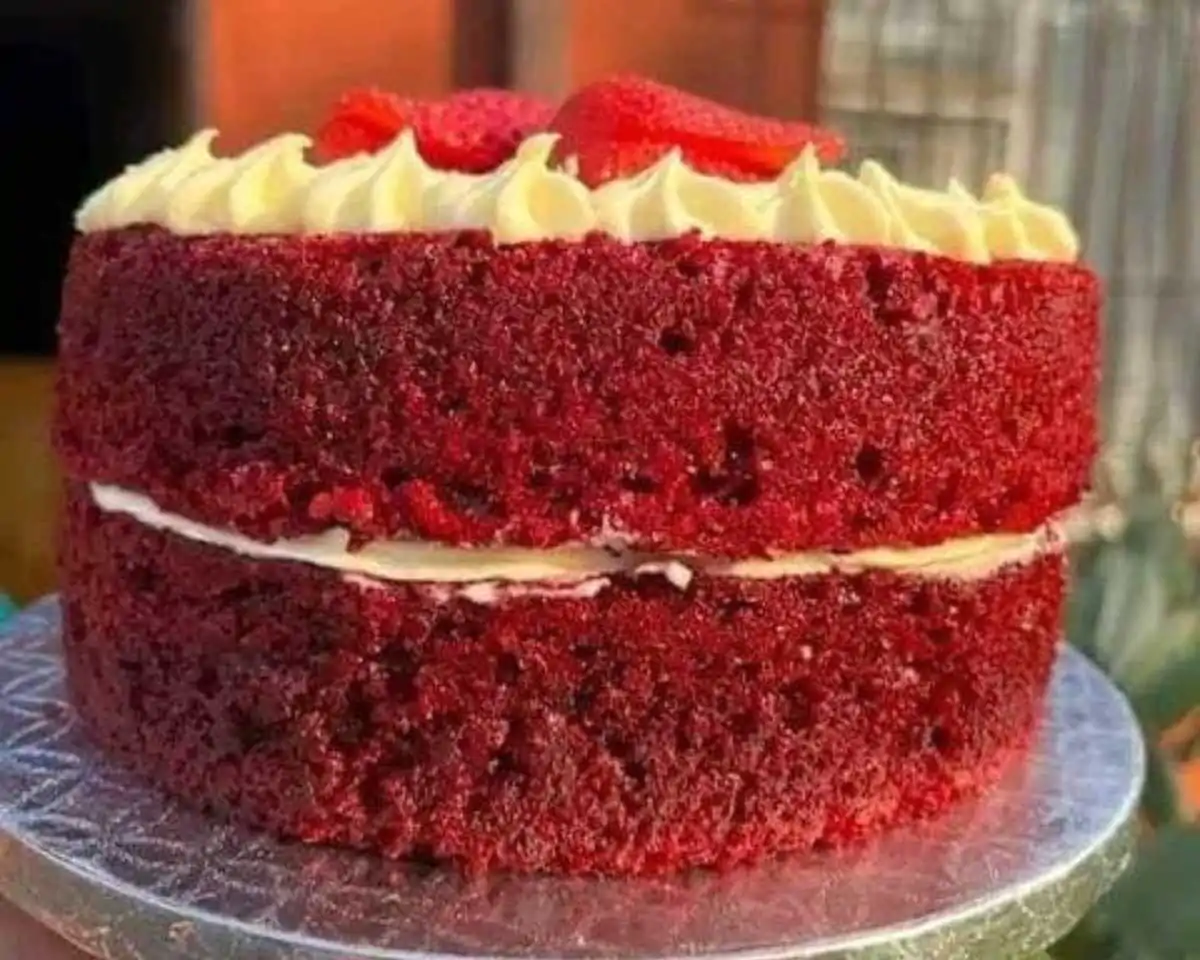
Red Velvet Cake is a classic dessert that never fails to captivate with its striking red hue and sumptuous flavor. Whether it’s a birthday celebration, a special occasion, or simply a craving for something sweet, this indulgent treat is sure to delight your taste buds. In this comprehensive guide, we’ll walk you through the step-by-step process of creating your own masterpiece of Red Velvet Cake from scratch.
Understanding the Ingredients: Crafting the Perfect Red Velvet Cake
For the Cake:
- All-Purpose Flour and Cocoa Powder: The foundation of the cake, providing structure and a rich chocolate flavor.
- Baking Soda and Salt: Essential leavening agents that help the cake rise and achieve a light, fluffy texture.
- Buttermilk and Vinegar: A magical combination that adds moisture and tenderness to the cake, with a hint of tanginess.
- Unsalted Butter and Sugar: The base of the cake batter, lending richness and sweetness to every bite.
- Vanilla Essence: Infuses the cake with aromatic vanilla flavor, enhancing its overall taste profile.
- Eggs and Fresh Cream: Binders that contribute to the cake’s texture and ensure a moist crumb.
- Red Food Coloring: The iconic ingredient that gives Red Velvet Cake its vibrant crimson color.
For the Frosting:
- Cream Cheese and Unsalted Butter: The creamy duo that forms the luscious frosting, balancing sweetness with a subtle tang.
- Powdered Sugar: Sweetens and thickens the frosting to the perfect consistency.
- Vanilla Essence: Adds a hint of warmth and depth to the frosting’s flavor profile.
Guide to Baking Red Velvet Cake
- Preheat and Prepare: Preheat your oven to 180°C. Grease two 8-inch round cake tins with butter and line them with parchment paper for easy removal.
- Sift the Dry Ingredients: In a deep bowl, sift together the all-purpose flour, cocoa powder, baking soda, and salt to ensure a smooth, lump-free batter.
- Prepare the Buttermilk Mixture: In another bowl, combine the buttermilk and vinegar, allowing them to react and create a tender crumb in the cake.
- Cream the Butter and Sugar: In a separate bowl, cream together the unsalted butter and sugar until light and fluffy, then add the vanilla essence for extra flavor.
- Incorporate Wet Ingredients: Gradually add the eggs one at a time to the butter-sugar mixture, beating well after each addition. Then, stir in the fresh cream until fully combined.
- Combine Wet and Dry Mixtures: Alternate adding the flour mixture and buttermilk mixture to the wet ingredients, stirring gently until just combined. Be careful not to overmix.
- Add the Red Food Coloring: Mix in the red food coloring until the batter is evenly tinted, achieving the signature red hue of Red Velvet Cake.
- Bake to Perfection: Divide the batter evenly between the prepared cake tins and bake for 35-40 minutes, or until a toothpick inserted into the center comes out clean.
- Cool and Prepare Frosting: Allow the cakes to cool in the tins for 20 minutes before transferring them to a wire rack to cool completely. Meanwhile, prepare the cream cheese frosting by beating together the cream cheese, unsalted butter, powdered sugar, and vanilla essence until smooth and creamy.
- Layer and Frost: Once the cakes are cooled, carefully slice off the tops to create even layers. Place one cake layer on a serving plate and spread a layer of frosting on top. Repeat with the remaining cake layer, then frost the top and sides of the cake with the remaining frosting.
- Decorate and Garnish: Use an icing bag to pipe decorative swirls or patterns on the cake’s surface, then garnish with cake crumbs for an extra touch of elegance.
- Serve and Enjoy: Serve the Red Velvet Cake chilled and revel in its irresistible flavor and visual appeal.
Additional Tips and Notes: Mastering the Art of Red Velvet Cake
- Homemade Buttermilk: If you don’t have buttermilk on hand, you can easily make your own by adding 1 teaspoon of vinegar to 1 cup of milk and letting it sit for 10 minutes before using it in the recipe.
Conclusion: Indulge in the Delightful Charm of Red Velvet Cake
In conclusion, Red Velvet Cake is more than just a dessert—it’s a symbol of joy, celebration, and indulgence. With its velvety texture, decadent flavor, and eye-catching appearance, this timeless treat never fails to impress. By following our comprehensive guide, you can embark on a culinary adventure and create your own masterpiece of Red Velvet Cake that will delight your senses and leave a lasting impression on your guests.
Frequently Asked Questions (FAQs)
- Can I substitute the red food coloring with natural alternatives?
- While natural alternatives like beetroot juice can be used to achieve a red hue, they may affect the flavor and texture of the cake.
- How do I store leftover Red Velvet Cake?
- Store the cake in an airtight container in the refrigerator for up to 3-4 days for optimal freshness.
- Can I freeze Red Velvet Cake?
- Yes, you can freeze Red Velvet Cake. Wrap it tightly in plastic wrap and aluminum foil before placing it in the freezer for up to 1 month. Thaw in the refrigerator before serving.
- What other frosting options can I use for Red Velvet Cake?
- Cream cheese frosting is the traditional choice for Red Velvet Cake, but you can also use buttercream or whipped cream frosting for a different flavor profile.
- Can I make cupcakes instead of a cake with this recipe?
- Yes, you can easily adapt this recipe to make Red Velvet Cupcakes. Simply divide the batter evenly among lined cupcake tins and adjust the baking time accordingly.


Leave a Reply