
Introduction
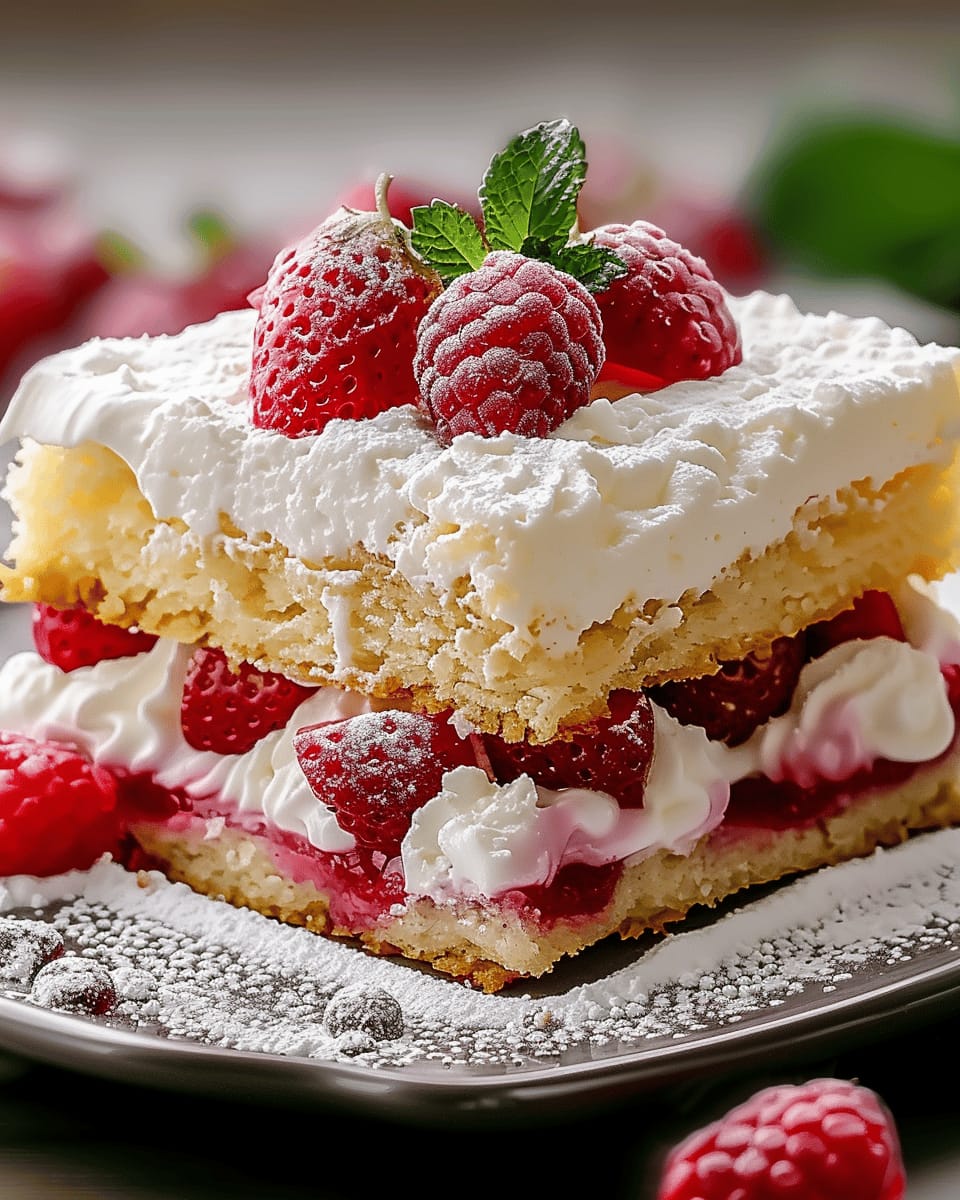
If you’re looking for a delightful dessert that embodies the classic flavors of a traditional Victoria sponge cake but without the need for baking, then the No-Bake Victoria Sponge Mousse Slice is the perfect treat. This indulgent dessert combines the rich taste of sponge cake with a light and airy mousse, making it a hit for any occasion. Whether it’s a family gathering or a special celebration, this recipe will impress all your guests.
Detailed Ingredients with measures
For the biscuit base:
– 200g digestive biscuits
– 100g unsalted butter, melted
For the mousse:
– 400ml double cream
– 250g mascarpone cheese
– 100g icing sugar
– 1 teaspoon vanilla extract
– 200g fresh strawberries, pureed
For the topping:
– Fresh strawberries, halved
– Whipped cream for decoration
Prep Time
Preparation time for the No-Bake Victoria Sponge Mousse Slice is approximately 30 minutes. This includes the time required to make the base and the mousse mixture.
Cook Time, Total Time, Yield
The recipe does not require cooking time since it’s a no-bake dessert. Therefore, the total time from prep to serving is about 30 minutes, plus chilling time in the refrigerator, which is recommended for at least 4 hours. This recipe yields approximately 12 servings, making it an ideal dessert for sharing.
Detailed Directions and Instructions
Step 1: Prepare the Biscuit Base
Start by crushing the digestive biscuits into fine crumbs. You can do this using a food processor or by placing them in a resealable plastic bag and rolling over them with a rolling pin.
Step 2: Mix with Butter
Melt the butter in a saucepan or microwave. Combine the melted butter with the biscuit crumbs in a bowl and mix until the crumbs are well coated.
Step 3: Form the Base
Press the biscuit mixture firmly into the bottom of a lined rectangular baking tin, ensuring it is evenly spread. Refrigerate for about 30 minutes to set.
Step 4: Prepare the Mousse Filling
In a mixing bowl, combine the mascarpone cheese and icing sugar. Whisk them together until smooth and well blended.
Step 5: Add Whipped Cream
In a separate bowl, whip the cream until soft peaks form. Gently fold the whipped cream into the mascarpone mixture until fully incorporated.
Step 6: Incorporate the Berry Puree
If using mixed berries, blend them until smooth to create a puree. Fold half of the berry puree into the mousse mixture to give it a light berry flavor.
Step 7: Pour on Biscuit Base
Pour the mousse mixture over the chilled biscuit base. Smooth the top with a spatula and drizzle the remaining berry puree on top.
Step 8: Chill and Set
Cover the baking tin with plastic wrap and refrigerate for at least 4 hours, or overnight, to allow the mousse to set properly.
Step 9: Serve the Mousse Slice
Once set, remove from the fridge, lift out of the tin using the baking paper, and cut into slices. Serve chilled.
Notes
Storage
Store any leftover mousse slices in an airtight container in the refrigerator for up to 3 days.
Variations
You can use different fruits such as strawberries, raspberries, or blueberries to customize the flavor of the mousse.
Allergies
Make sure to check for any allergies, especially concerning dairy products used in the mousse.
Cook techniques
Layering
Layering is essential in creating the texture and visual appeal of the no-bake Victoria sponge mousse slice. Alternate layers of sponge and mousse to achieve a balanced composition.
Chilling
Chilling the mousse mixture is crucial for achieving the right consistency. Ensure it is adequately chilled before spreading it between the layers of sponge.
Whipping
Whipping the cream to the perfect consistency is key. Aim for stiff peaks to ensure the mousse holds its shape well.
Assembling
Carefully assemble the slices, ensuring that each layer aligns properly for an even presentation. Use a sharp knife to cut for clean edges.
Setting
Allow the assembled mousse slice to set completely in the refrigerator. This will enhance the overall firmness and help the layers meld together.
FAQ
Can I use a different type of sponge?
Yes, you can substitute the sponge with your preferred cake type, but it may alter the overall flavor and texture.
How long does it take for the mousse to set?
Typically, it takes about 4-6 hours in the refrigerator for the mousse to set properly.
Is it possible to make this recipe vegan?
Yes, you can use plant-based substitutes for the cream and sponge to create a vegan-friendly version.
Can I add fruit to the mousse?
Absolutely! Fresh fruit can be added to the mousse or as a layer for added flavor and texture.
How should I store leftovers?
Leftovers should be stored in an airtight container in the refrigerator and consumed within a few days for the best quality.
Conclusion
The No-Bake Victoria Sponge Mousse Slice is a delightful dessert that captures the classic flavors of the traditional sponge cake without the need for baking. Its light and airy texture combined with the sweet and fruity toppings make it a perfect treat for any occasion. This recipe is not only easy to prepare but also allows for creativity in presentation and flavor combinations.
More recipes suggestions and combination
Summer Berry Trifle
Layer sponge cake with mixed berries and custard for a refreshing dessert that’s perfect for warm weather gatherings.
Chocolate Mousse Cake
Indulge in a rich chocolate mousse layered between biscuit bases for a decadent twist on classic mousse desserts.
Coconut and Pineapple Slice
Combine coconut cream and pineapple for a tropical-inspired no-bake slice that transports your taste buds to a sunny paradise.
Lemon Cheesecake Bars
A zesty twist using a crumbly base topped with smooth lemon cheesecake filling, perfect for those who crave a citrusy treat.
Peanut Butter and Chocolate No-Bake Bites
Mix creamy peanut butter with crushed biscuits and melted chocolate for quick and easy bite-sized treats that are hard to resist.
Leave a Reply