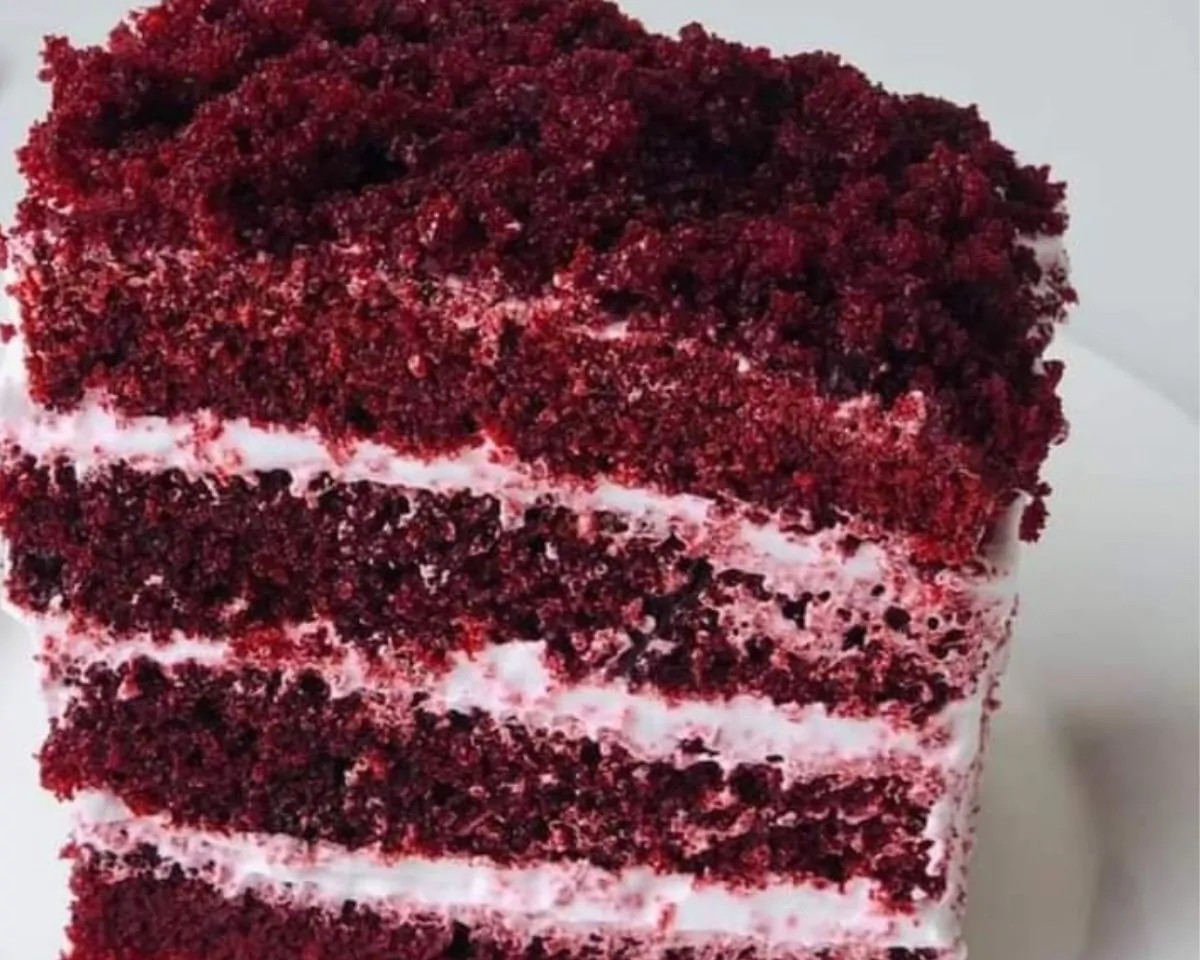
Red velvet cake is a timeless classic in the realm of desserts, beloved for its rich flavor, velvety texture, and stunning crimson hue. This article delves into the art of crafting this delectable treat, providing you with a step-by-step guide to bake the perfect red velvet cake at home.
Understanding the Ingredients
To embark on your red velvet cake journey, it’s crucial to acquaint yourself with the essential ingredients:
1. Cake Flour
- A specialized flour with a lower protein content, yielding a softer texture in baked goods.
2. White Sugar
- Provides sweetness and moisture to the cake batter.
3. Vegetable Oil
- Contributes to the cake’s moistness, ensuring a tender crumb.
4. Buttermilk
- Adds tanginess and richness to the batter, enhancing the flavor profile.
5. Eggs
- Serve as a binding agent and provide structure to the cake.
6. Cocoa Powder
- Imparts a subtle chocolate flavor and intensifies the cake’s color.
7. Gel Red Food Coloring
- Infuses the cake with its iconic red hue, creating visual allure.
8. Bicarbonate of Soda
- Acts as a leavening agent, promoting a light and fluffy texture.
9. Vanilla Essence
- Enhances the overall flavor profile with its aromatic richness.
10. White Vinegar
- Reacts with the cocoa powder and buttermilk, contributing to the cake’s characteristic acidity.
11. Salt
- Balances the sweetness and heightens the other flavors in the cake.
Baking Instructions
Now that we’ve acquainted ourselves with the ingredients, let’s delve into the baking process:
1. Mixing the Batter
- In a large bowl, combine sugar and vegetable oil, then incorporate vanilla essence and eggs, ensuring a thorough mix.
2. Incorporating Dry Ingredients
- Gradually add buttermilk to the batter, followed by gel red food coloring. Sift in cake flour, bicarbonate of soda, cocoa powder, and salt, mixing until a homogeneous batter forms.
3. Final Touches
- Stir in white vinegar gently to the batter. Line a square cake pan with parchment paper, grease the sides, and pour the batter into the prepared pan.
4. Baking
- Preheat your oven to 160 degrees Celsius and bake the cake for approximately 50 minutes or until a toothpick inserted into the center comes out clean.
5. Cooling and Assembly
- Allow the cake to cool completely before frosting. Trim the top and edges of the cake, then cut it into layers for assembly.
6. Frosting
- Whip together cold heavy cream, icing sugar, and vanilla essence until thick. Frost the cake generously and sprinkle with cake crumbs for a finishing touch.
Expert Tips
- Red velvet cake requires precision; avoid substituting or omitting any ingredients for optimal results.
- Ensure the heavy or whipping cream is well chilled before whipping for the creamiest texture.
Conclusion
In conclusion, mastering the art of red velvet cake is a rewarding endeavor that delights both the baker and those fortunate enough to indulge in its lusciousness. By following these meticulous steps and honoring the science behind the recipe, you’ll be well on your way to creating a masterpiece that’s as visually captivating as it is utterly delicious.
FAQs (Frequently Asked Questions)
1. Can I use liquid food coloring instead of gel for red velvet cake?
- Liquid food coloring may alter the consistency of the batter and affect the final outcome. It’s recommended to stick to gel food coloring for best results.
2. Why is buttermilk essential in red velvet cake?
- Buttermilk adds acidity and tenderness to the cake, enhancing its flavor and texture.
3. Can I omit the vinegar in the recipe?
- Vinegar reacts with the cocoa powder and buttermilk, contributing to the cake’s rise and overall structure. It’s best not to omit this crucial ingredient.
4. How do I store leftover red velvet cake?
- Store the cake in an airtight container in the refrigerator for up to 3-4 days for optimal freshness.
5. Can I freeze red velvet cake?
- Yes, you can freeze red velvet cake layers for up to 2-3 months. Wrap them tightly in plastic wrap and store in a freezer-safe container.


Leave a Reply