
Introduction
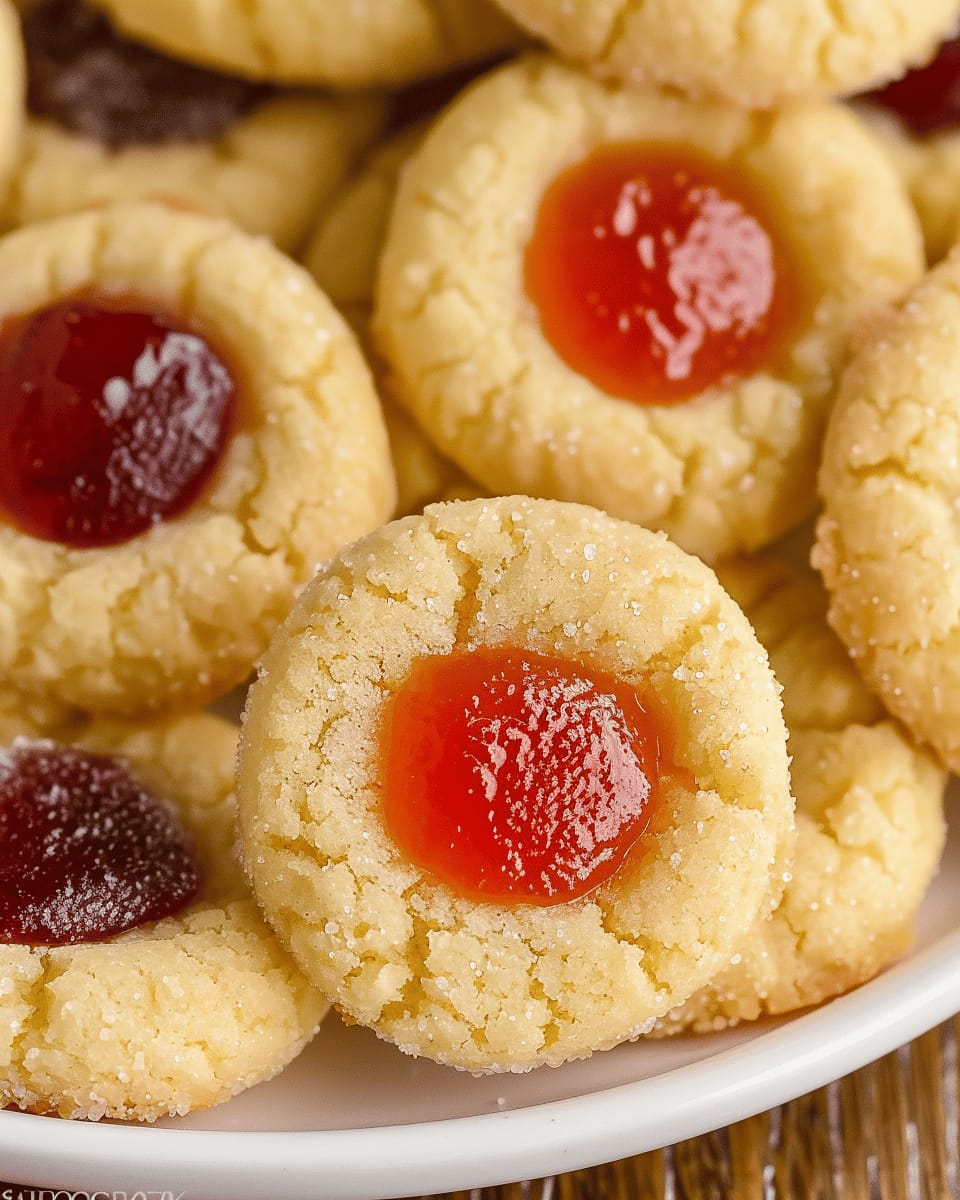
Thumbprint cookies are a delightful treat that combines a buttery, soft cookie with a burst of flavor from your favorite jam or filling. They are simple to make, and their charming appearance makes them a hit at any gathering or as a sweet surprise for your family. With a few pantry staples, you can whip up a batch that will elevate any dessert table.
Detailed Ingredients with measures
Flour: 2 cups
Butter: 1 cup, softened
Sugar: ½ cup
Brown sugar: ½ cup, packed
Egg yolk: 1, large
Vanilla extract: 1 teaspoon
Baking powder: ½ teaspoon
Salt: ¼ teaspoon
Jam or preserves: ½ cup, your choice
Prep Time
20 minutes
Cook Time, Total Time, Yield
Cook Time: 12-15 minutes
Total Time: 35 minutes
Yield: About 24 cookies
These thumbprint cookies will not only satisfy your sweet tooth but also provide a delightful homemade touch to any occasion. Enjoy baking and indulging in these delicious treats!
Detailed Directions and Instructions
Step 1: Preheat the Oven
Preheat your oven to 350°F (175°C). This ensures that the cookies bake evenly.
Step 2: Prepare the Baking Sheet
Line a baking sheet with parchment paper to prevent the cookies from sticking.
Step 3: Cream the Butter and Sugar
In a mixing bowl, combine softened butter and sugar. Beat them together until the mixture is light and fluffy.
Step 4: Add the Egg and Vanilla
Mix in the egg and vanilla extract to the butter and sugar mixture until well combined.
Step 5: Combine Dry Ingredients
In a separate bowl, whisk together all-purpose flour, baking powder, and salt.
Step 6: Mix Wet and Dry Ingredients
Slowly add the dry ingredients to the wet mixture, stirring until everything is just combined.
Step 7: Shape the Cookies
Using your hands, form the dough into small balls about one inch in diameter and place them on the prepared baking sheet.
Step 8: Make Thumbprint Indentations
Use your thumb or the back of a spoon to press an indentation into the center of each ball of dough.
Step 9: Fill the Indentations
Spoon your choice of jam or filling into each of the thumbprint indentations.
Step 10: Bake the Cookies
Place the baking sheet in the preheated oven and bake for 10 to 12 minutes, or until the edges are lightly golden.
Step 11: Cool the Cookies
Remove the cookies from the oven and allow them to cool on the baking sheet for a few minutes before transferring them to a wire rack to cool completely.
Notes
Note 1: Butter Temperature
Make sure the butter is softened to room temperature for better mixing.
Note 2: Jam Choices
Feel free to use your favorite jams or fillings; options like raspberry, strawberry, or chocolate work wonderfully.
Note 3: Storage
Store the baked cookies in an airtight container to maintain freshness for up to a week.
Note 4: Freezing
These cookies can be frozen after baking; just ensure they are fully cooled before storing in a freezer-safe container.
Cook techniques
Mixing the Dough
To ensure your thumbprint cookie dough is smooth and well blended, start by mixing the dry ingredients together before incorporating the wet ingredients. This helps avoid clumps and ensures even distribution of flavors.
Chilling the Dough
Chilling the cookie dough for at least 30 minutes before baking will help the cookies maintain their shape and texture. This step prevents the cookies from spreading too much while baking.
Forming the Cookies
When shaping the cookies, use a small cookie scoop for uniformity. Make an indentation using your thumb or the back of a spoon to create space for the filling.
Choosing the Filling
You can customize your thumbprint cookies by using various fillings such as jam, chocolate, or caramel. Choose a filling that complements the cookie flavor and adds a delightful burst of sweetness.
Baking Tips
To achieve the perfect texture, ensure your oven is preheated and use parchment paper on your baking sheets. This helps prevent the cookies from sticking and allows for even baking.
Storing Cookies
Store your thumbprint cookies in an airtight container at room temperature. For longer shelf life, consider refrigerating or freezing them, separating layers with parchment paper to avoid sticking.
FAQ
Can I use different types of flour?
Yes, you can substitute all-purpose flour with gluten-free flour or almond flour, but the texture may vary. Adjust the other ingredients accordingly.
How do I make the cookies chewy?
To achieve a chewier texture, try adding an extra egg yolk or reducing the baking time slightly.
Can I freeze thumbprint cookies?
Yes, thumbprint cookies can be frozen. Allow them to cool completely, then place them in an airtight container or a freezer bag for up to three months.
What is the best way to fill the indents?
A small spoon or a piping bag works well for filling the indents with your chosen filling.
How do I know when the cookies are done baking?
The edges of the cookies should be lightly golden. They may appear soft in the center but will set as they cool.
Conclusion
Thumbprint cookies are a delightful treat that combines a buttery base with your choice of fruity fillings, making them perfect for any occasion. With simple ingredients and easy preparation, they serve as a wonderful way to engage in baking with friends and family. Enjoy the classic combination or get creative with your favorite flavors!
More recipes suggestions and combination
Chocolate Hazelnut Thumbprint Cookies
Replace the standard jam filling with chocolate hazelnut spread for a rich, indulgent twist that chocolate lovers will adore.
Coconut Lime Thumbprint Cookies
Incorporate shredded coconut into the cookie dough and use a tangy lime curd for the filling, bringing a tropical flavor to your cookies.
Peanut Butter and Jelly Thumbprint Cookies
Use creamy peanut butter in the cookie dough and fill the thumbprints with your favorite berry jam for a nostalgic treat.
Matcha Green Tea Thumbprint Cookies
Add matcha powder to the dough for a unique flavor, pairing it with a sweet red bean paste filling for an Asian-inspired dessert.
Spiced Pumpkin Thumbprint Cookies
Mix pumpkin puree and warm spices into the cookie batter for a fall-themed treat and fill with cream cheese frosting for extra decadence.
Leave a Reply